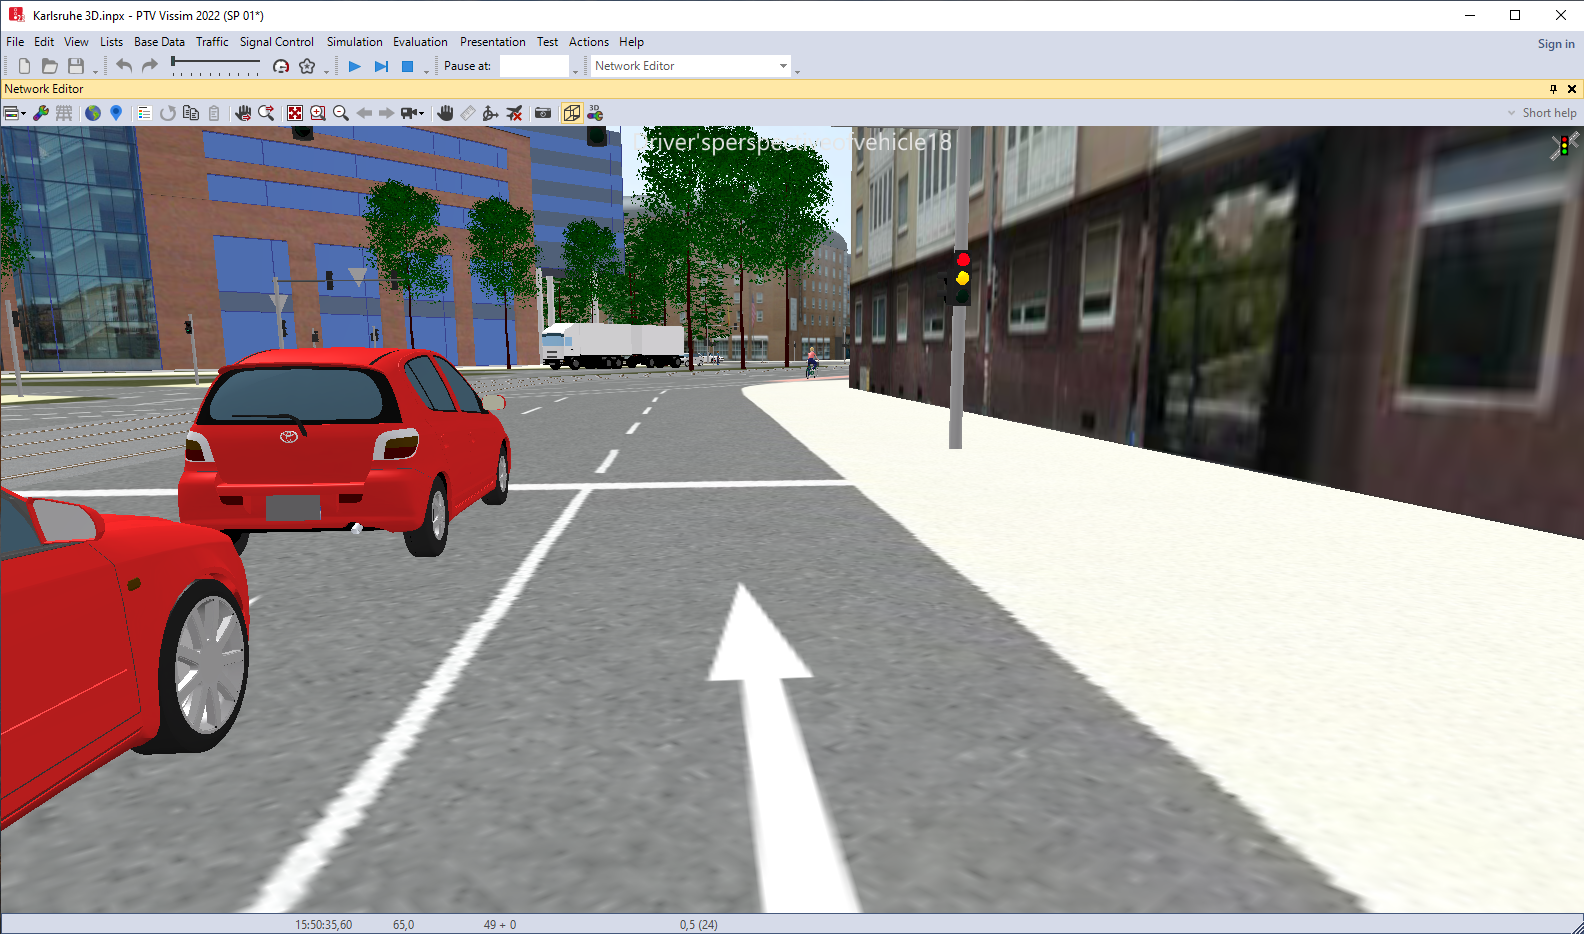
Showing 3D perspective of a driver or a pedestrian
You can select a vehicle or a pedestrian and show the view from their perspective in 3D mode. You can select another vehicle or pedestrian in any opened network editor to show different persepectives at the same time.
You can save the 3D perspective of a driver or pedestrian as a camera position (Setting 3D perspective as camera position). You can use the driver perspective or pedestrian perspective for AVI recordings (Recording a simulation and saving it as a video file).
When you choose the camera position driver perspective, as in reality, the vehicle itself is not visible. When you choose a camera position outside the driver perspective, parts of the vehicle are displayed. This allows you to position the camera freely and choose a camera position attached to a vehicle or inside a vehicle. This applies accordingly to pedestrians.
Showing 3D perspective via a Network editor
|
|
Note: If under User Preferences, you selected Right-click creates a new object, hold down the Ctrl key for the next step (Right-click behavior and action after creating an object). |

1. In a Network editor, in the single-step mode, right-click the vehicle or pedestrian of your choice.
2. On the shortcut menu, click the respective command:
In the Network editor, the perspective of your choice is shown in 3D mode.
|
|
Note: If under User Preferences, you selected Right-click creates a new object, hold down the Ctrl key for the next step (Right-click behavior and action after creating an object). |
3. If you want to exit the perspective, right-click in the Network editor.
4. On the shortcut menu, click the respective command:
- Leave Driver's Perspective
- Leave Pedestrian's Perspective
|
|
Tip: Alternatively, you can switch back to the 2D mode. |

Showing 3D perspective via a result list
1. On the Evaluation menu, click > Result Lists > Vehicles In Network or Pedestrians In Network.
The result list opens.
2. Click on the desired vehicle or pedestrian in the result list.
3. The vehicle or pedestrian is marked in the Network Editor.
The next step can be more easily executed in single-step mode or at a lower simulation speed.
4. Double-click the marked vehicle or pedestrian in the Network Editor.
The perspective changes. When the vehicle or the pedestrian reaches its destination, the perspective is exited automatically.
5. If you want to exit the perspective, right-click or double-click in the Network editor.
6. On the shortcut menu, click Leave Driver's Perspective or Leave Pedestrian's Perspective.
The simulation continues to run in 3D mode.
