Editing stage assignment
|
|
Note: You will need the add-on module Vissig. |
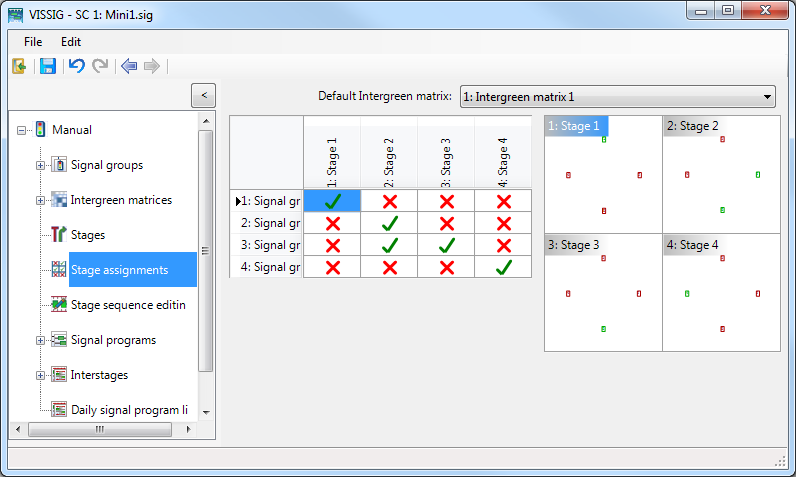
You can permit or block individual signal groups or classify their state as not relevant.
- ► In the Default intergreen matrix box, select the entry of your choice.
By default, the selected intergreen matrix is marked with an x in the overview table of the Intergreen matrices.
Switching state of signal group
1. Open the signal controller editor (Opening and using the signal controller editor).
2. Double-click the desired signal controller in the Navigator.
3. Click Stage assignments in the Navigator.
The stage assignment list opens.
4. Double click on the desired cell.
|
|
Tip: Alternatively, you can click the number in the graphical representation of the stage. |
The state of the signal group in the stage is switched. The system switches between the two states in cycles:
|
|
Signal group is in the Permitted stage |
|
|
Signal group is in the Blocked stage |
|
|
State of signal group is in the Not Relevant stage, for example, for partial node control |
If an intergreen matrix is selected as default, the conflicts (conflict traffic streams) are tested during the creation of the stages. When conflicting signal groups are permitted in the same stage, these are highlighted in red in the table.

|
|
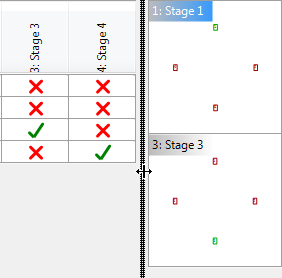
Tip: You may change the width of the two window sections. |

Displaying selected or all stages
You can switch between the display of all stages or a magnified display of the selected stage.
1. Right-click in the graphic.
2. On the shortcut menu, click the desired function.
Defining display of pavement markers
You can define the display of the pavement markers with or without displaying the signal group number.
1. Right-click in the graphic.
2. Select the desired function.
3. Confirm with OK.


