Editing stage sequence
|
|
Note: You will need the add-on module Vissig. |

You can form stage sequences from the stages defined and create the interstages.
1. Open the signal controller editor (Opening and using the signal controller editor).
2. Double-click the desired signal controller in the Navigator.
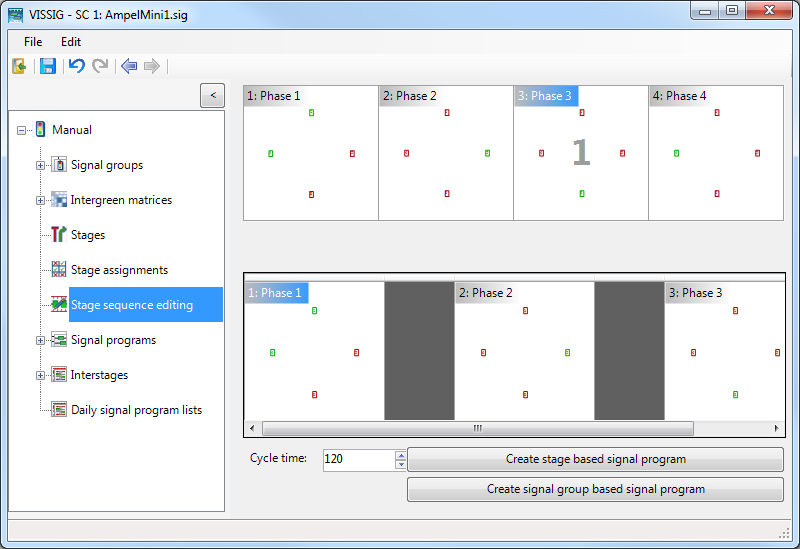
3. In the navigator, click Stage sequence editing.
The existing stages are displayed in the upper pane. The currently selected stage sequence is displayed in the lower pane.

In the upper pane, you define individual interstages and stage sequences.
|
|
Tip: You can change the ratio between the upper and lower pane using the horizontal divider. |

Defining interstages
1. Click on the From stage.
The From stage is marked.
2. Hold down the Ctrl key and click on the To stage.
The stages are called 1 and 2.
3. Right-click in the window.
4. On the shortcut menu, click Create an interstage.
The interstage is created and graphically displayed.
|
|
Tip: You can define several interstages, for example, with and without minimum duration, between two stages. |
|
|
Notes:
|
Defining stage sequence
You can define a stage sequence for calculating the signal program in the upper pane.
1. Hold down the Ctrl key and click on the desired stage sequence.
2. Right-click in the window.
3. On the shortcut menu, click Create sequence.
The new stage sequence is displayed in the lower view.
4. To add an additional stage to the already defined stage sequence, mark an individual stage and on the shortcut menu, click Add to sequence or double-click the stage.
Deleting stage and stage sequences
- ► To delete a selected stage from the stage sequence, on the shortcut menu, click Remove stage.
- ► To delete the entire stage sequence, on the shortcut menu, click Clear sequence.
Exporting stage sequence as graphic file
1. From the menu, choose Edit > Options Export tab.
2. Make the desired settings for formatting the graphic.
3. On the shortcut menu, click Export.
Creating signal program with fixed cycle time
You can create a signal program with a fixed cycle time via the following functions from the stage sequences:
- ► Enter the cycle duration in seconds in the Cycle time field.
- ► Click the Create stage based signal program button.
A stage-based signal program with a prescribed cycle duration is calculated. The editing view of the signal programs is opened for further processing of your signal program.
- ► Click the Create signal group based signal program button.
A signal group based signal program with a prescribed cycle duration is calculated. The editing view of the signal programs is opened for further processing of your signal program.
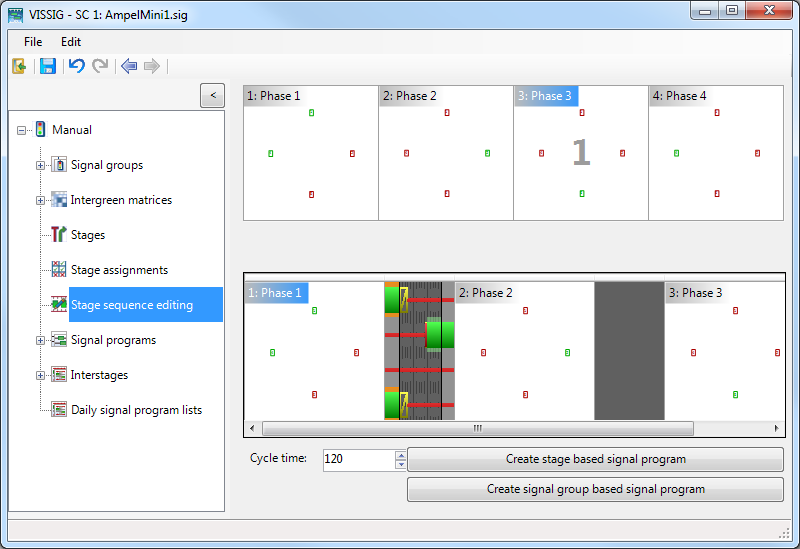
Manually defining interstages
You can manually define the interstages that you want to use to calculate the signal program.
1. Right-click the gray area between the two desired stages.
2. On the shortcut menu, click Interstages > Create or an existing interstage.
If the interstages are not manually selected, the system checks whether a suitable interstage already exists for each stage change of the stage sequence.
- If a suitable interstage exists, the first suitable interstage is used for the calculation.
- If a suitable interstage does not exist, a new interstage is created. The new interstage is saved for stage-based signal programs.
The interstage is deleted again for signal group-based signal programs after the calculation of the signal program.
Editing interstage
1. Double-click the interstage.
The editing view of the interstage opens.

2. Make the desired changes.
3. Click the ![]() button.
button.
The Stage sequence editing window opens.
4. Click the  Save button.
