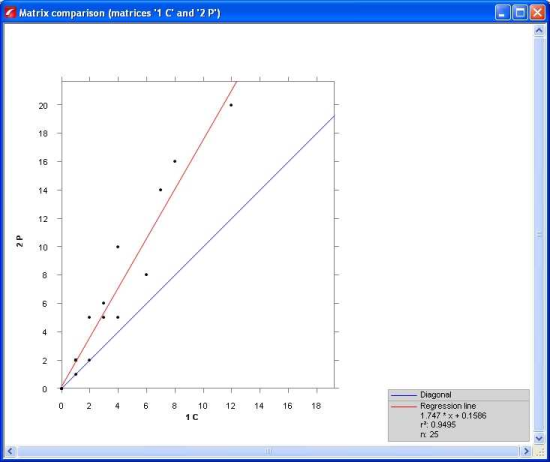
In a scatter plot, you can compare the matrix values of two matrices that have the same OD pairs.
1. Press the Ctrl key and keep it pressed.
2. In the Matrices window, in the navigator, select the matrices of your choice.
3. Right-click one of the matrices you selected.
The context menu opens.
4. Select the Matrix comparison (in pairs) entry.
|
Tip: Alternatively, you can select matrices for the comparison via menu View > Matrix comparison (Selecting matrices). |
The Matrix comparison window opens. The matrix values of both matrices are displayed in a scatter diagram. The matrix that was selected first is displayed along the X-axis, whereas the other one is displayed along the Y-axis. A blue line indicates the diagonal, a red line depicts the best straight line. Statistical values are displayed in the lower section to the right: the regression line equation in the form of a • x + b, the coefficient of determination r2 and the number of matrix values n.
|
Note: In matrix comparisons, you have the option of filtering the display by zones, OD pairs or matrix values (Filtering matrix data). |

|
Notes: If the matrices are extremely large, the points are no longer displayed separately, but in a grid view. An additional legend indicates what the different levels of gray represent. In the Matrix comparison window, you can make the view either bigger or smaller, you can shift the image and recall the initial view. These functions correspond to those in the Network editor. To access them, on the toolbar of the View menu, click the corresponding buttons or use the wheel button (Network editor window). You can also export a matrix comparison as a graphic file. To do so, from the File > Export graphics (Matrix comparison) menu, choose one of the following commands:
You can save the screen section of a matrix comparison with the layout (Saving and opening the layout of a Matrix editor, histogram, or matrix comparison window). |

